Dr Guard Removal – How To Remove Dr Guard From Your PC
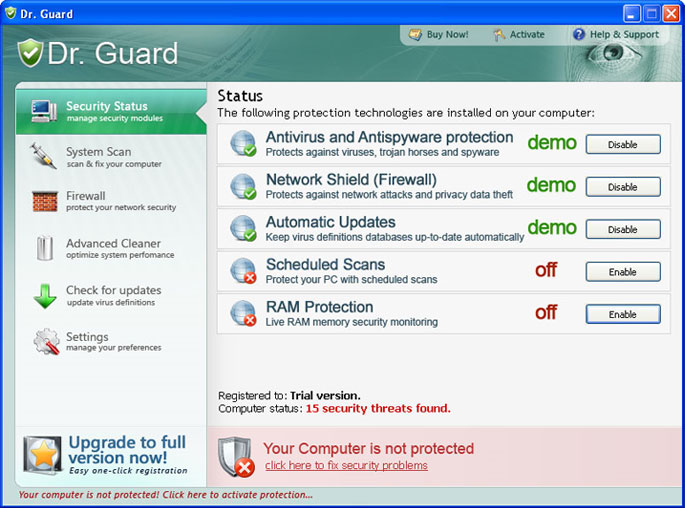
Dr Guard is a rogue antivirus program which installs itself onyour computer and then tries to pressure you into purchasing the full version of the software. It can disable your Internet, prevent you from loading your task manager and even take over your computer. It is quite a dangerous program which needs to be removed at all costs.
Where Does Dr Guard Come From?
Dr Guard infects computers through a network of advertising websites which con you into downloading the tool. The typical sign that you’ve been scammed into downloading this program is when you see a screen which resembles “My Computer”. This screen then shows you several ‘viruses’ which are meant to be infecting various parts of your system and offers to fix the problems with a simple download (which is Dr Guard).
Upon downloading the program it will take over your computer and do all it can to pressure you to buy the ‘upgrade’ for the software. It is highly annoying and in order to remove it, you should follow this simple tutorial:
How To Remove Dr Guard
Step 1 – Download & Install Malaware Bytes
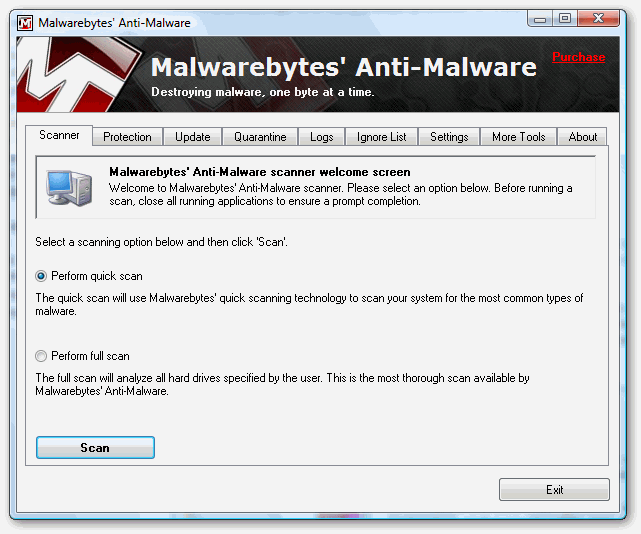
Malware Bytes is a free spyware & malware removal tool which you can download here. You need to install it on your PC and then let it scan your system. If you don’t have access to the Internet (because Dr Guard blocked it) then you should download this tool on another PC and then transfer the installation file via CD or USB pen.
Using this tool is very simple. You need to select the type of scan you want to perform and then press “Scan” to get the tool to do the task. This will send Malware Bytes through your system and it will identify all the infected files, removing them for you. This automated tool is the best way to remove the infection because it gets 95% of it.
Step 2 – Clean Out The Registry
Although Malware Bytes is very effective at removing the actual infection from your PC, it does not finish the job properly… and ends up leaving a series of settings on your PC. These are kept in the ‘registry’ database and can actually allow the infection back onto your PC. In order to fully protect yourself, it is recommended that you download a registry cleaner and then use it to remove any of the infected ‘Dr Guard’ registry keys that can still cause problems. This tool is automated and is very easy to use.
What This Removal Process Does:
Kills Processes
- drguard.exe
- asr64_ldm.exe
You should open up the “Task Manager” by clicking CTRL + ALT + DEL and then click on the “Processes” tab. This will then display a list of running processes, where you should then be able to find the listed files above. Click on each one and then click on the “End Process” button to stop the program from running. You can see an example of how that works below:
Removes Directories
- C:\Program Files\Dr. Guard
- C:\Documents and Settings\[UserName]\Start Menu\Programs\Dr. Guard
- %Temp%\asr64_ldm.exe
These directories store the files that make Dr Guard work. This means that you just need to go into “My Computer”, find the above directories, select them with your mouse and press SHIFT + DELETE. This will permanently remove them from your PC, preventing the program from loading up ever again.
Recomended – Clean The Registry (Highly Recommended)
In order to prevent Dr Guard coming back on your PC, you need to remove all the registry entries it has entered. This important, because many people leave these intact and end up having the problem come back again. Registry entries store the settings and options for the program, and by using a registry cleaner, you can remove them all and get your computer fit and healthy again. This is highly recommended


